
Whether you want to preserve your old home movies or convert VHS tapes for viewing on modern devices, transferring VHS to digital is a great idea. But doing it yourself can seem intimidating — especially if you’re not familiar with the process or don’t have all the tools and equipment you need.
In this comprehensive article, we’ll walk you through the steps of converting VHS to digital, from preparing what you need to digitizing your old tapes and saving your content.
Along the way, we’ll offer some tips and best practices to help ensure that your video comes out looking great.
Table of Contents
Transferring VHS to Digital: Doing It Yourself
Prepare What You Need
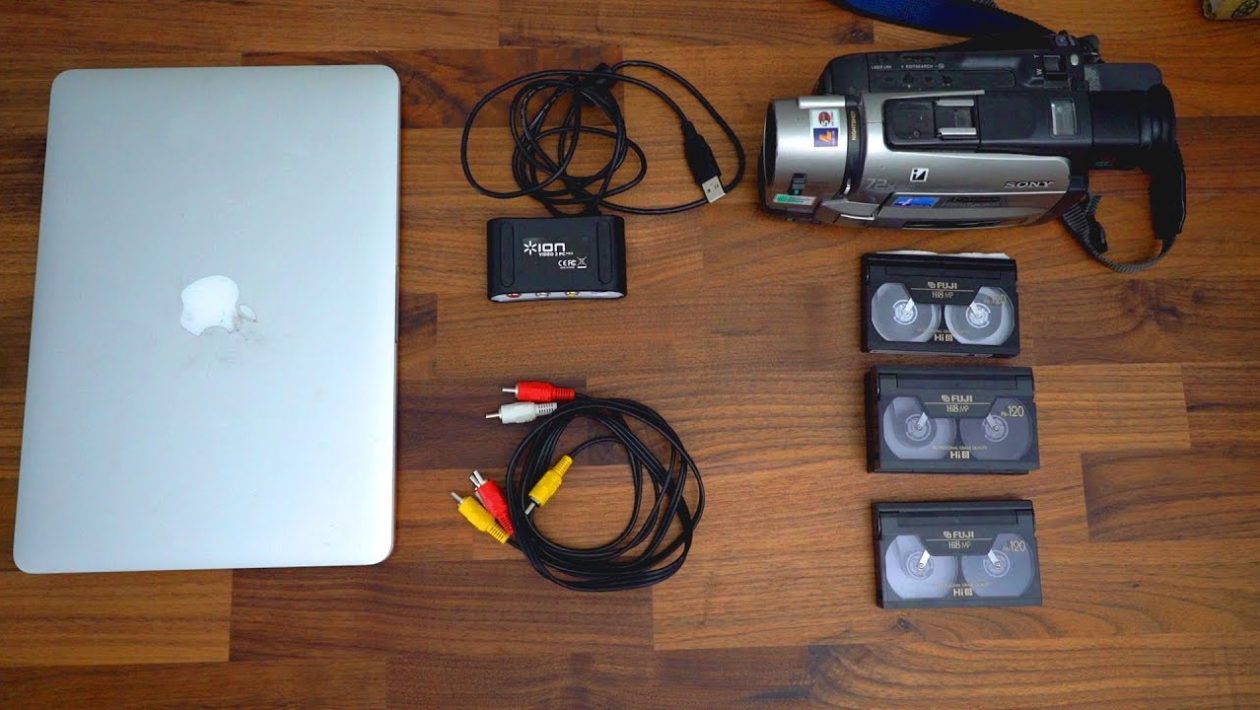
Before you start transferring VHS to digital, you’ll need a few things:
- A VHS player and capture device: This can be either an external device or a computer with the right software installed.
- Video editing software: You’ll need this to convert your video files and make any edits or adjustments that you need.
- Storage space: Make sure you have enough room on your computer or external hard drive to save the video files once they’re converted.
Set Up Everything
Before you start actually transferring VHS to digital, make sure you’ve set up everything correctly and are ready to go.
This includes connecting your player and capture device to your computer or turning on your laptop, installing the software if necessary, and setting up any preferences that you need.
As you work through each step of the VHS tape conversion process, keep in mind that it’s always a good idea to take time to preview the video before moving on to the next step.
Digitize Your Old VHS Tapes
Once you’re all set up and ready to convert VHS to digital, it’s time to start the actual process of capturing your video content.
As with most things in life, careful planning and preparation will help make this part go smoothly — so be sure to check your cables and connections, make sure your captured video is saved to a safe location, and ensure that there are no interruptions in the electrical power.
Once you’re ready to convert VHS to digital, just follow these simple steps:
- Insert your VHS tape into the player and start it playing.
- Connect the player to your capture device or computer using the appropriate cables.
- Launch your video converter software and begin capturing video from the VHS tape.
- When you’re finished, save your captured files to a safe location on your computer or external drive.
- If necessary, use your video editing software to make any required edits or adjustments to the captured video.
Finally, once your converted VHS content is ready to go, you can either watch or share it as needed. Whether you choose to archive your digitized videos for future viewing or convert them into a different format and upload them online, the possibilities are endless!
It’s Never Wrong to Ask for Help
It’s never wrong to ask for help when it comes to converting VHS tapes to digital. Whether you need assistance with the setup process or want someone to convert your VHS tapes for you, there are experts available who can guide you through every step of the journey and make sure that your content is safely captured and preserved for years to come.
In Conclusion
Whether you’re looking to convert VHS tapes for viewing on modern devices or want to preserve your old video content for future generations, converting VHS to digital is an important step.
With the right preparation, planning, and help from experts, however, you can convert VHS to digital quickly and easily. So take that old VHS tape out of the drawer or closet and get started today!